
Monthly contributor post from Kristen at Celebrate Every Day with Me:

Do you have a Hot Wheels-loving kid? Here is an easy craft to make for your child or to give as a gift.
Months ago, a friend gave me this unfinished tray she didn’t want. (This tends to happen when you’re crafty or throw a bunch of parties. People want to get rid of the stuff they’ll never do anything with and they give it to you . . . which is a good and a bad thing.)
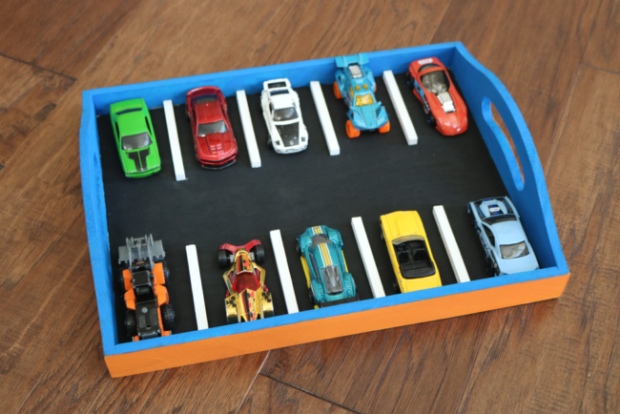
When my friend gave me this tray, I decided I would do something fun with it and give it right back to her. Well, I’m a little later than I planned, but I did make it into a mini parking lot for her son’s Hot Wheels cars. This can be a great way to carry the cars around the house or to use as storage when the cars are not in play.
What You’ll Need to Make Your Own Hot Wheels Parking Lot:


- Wooden Tray (My tray was 9″ x 12″. However, this Amazon tray is 15″ and will hold more cars.)
- Trim (1/4″ x 36″ – only one piece needed for a 12″ tray)
- Small Hand Saw
- Sanding Block or Sandpaper
- Acrylic Paint (black, white and other colors of your choice)
- Wood Glue
- Sealer (optional)
- Hot Glue (optional)

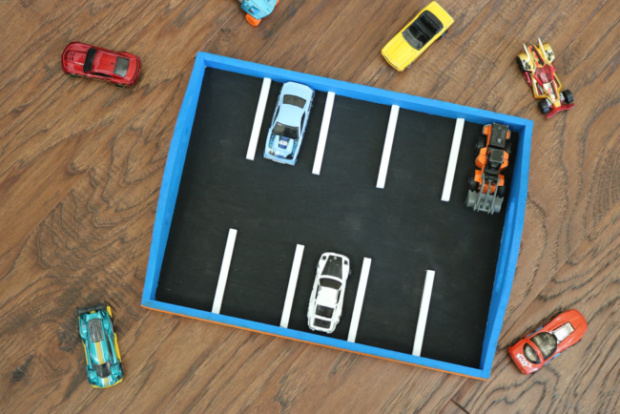
Determine how many parking spaces you want to create. With my 12″ tray, I was able to create five spaces on each side which meant I needed eight dividers. Measure and cut your trim wood into 3″ long pieces.

With a sanding block, sand off any rough edges from the cut.

It is time to begin painting! Paint the base of the tray black and the sides whatever color you desire.

Paint the parking space dividers white and allow everything to dry.

Put your dividers in place (mine were just under 6 cm apart) and secure with wood glue. Allow to dry.
Optional: Keep your cars from sliding out of their places by adding a small line of hot glue to each parking space. Paint the glue line with black acrylic paint and then add a coat of sealer. I think a high gloss coat of sealer on the entire project would give a fun look.
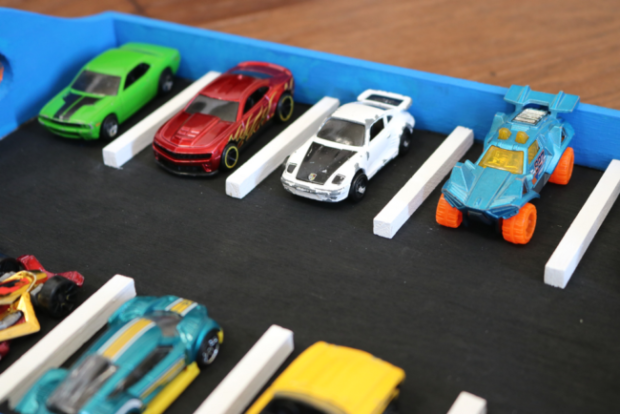
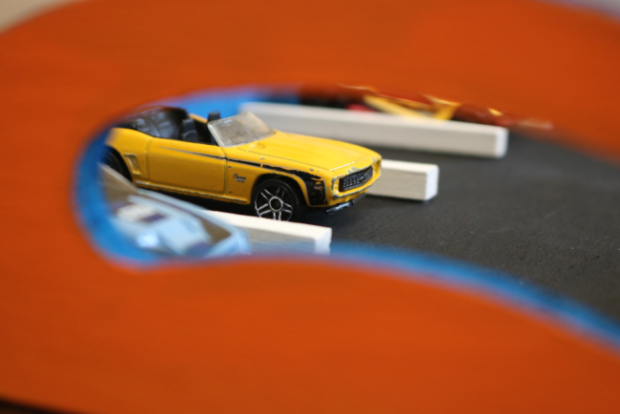
Here are some images of the final product:

Want to add more creative fun to your child’s play? Pick up a roll of this road tape and let your child build roads for his or her Hot Wheels. My son loves this stuff and uses other household items to create a town. And as far as my wood floor goes, the tape comes up easily with no residue.
Do your kids like Hot Wheels cars? Do you have a fun way to store them?
Kristen of Celebrate Every Day With Me is a fun-loving mom to two kids who keep her busy and laughing. Add her great husband and the Lord to the mix and her life is one fantastic (and sometimes crazy) adventure. She is a former youth leader, professional wedding and event planner and has a degree in Christian Thought/Christian Ministry. She loves long lists, diet soda and playing jokes on her husband.
Kristen is the author of Teach Me To Serve: 99 Ways Preschoolers Can Learn To Serve & Bless Others. On her blog, you’ll find fun ideas for children’s activities, creating memorable moments and party planning.
Leave a Reply