
From monthly contributor Kristen at Celebrate Every Day with Me:

Hi friends! We have been in the new house for just about six months and I am still working on hanging art and photos on the walls. A little lack of decorating inspiration and . . . yes, procrastination too. But today, that’s ending with this sweet burlap wall art. It will combine your child’s hand print, a Bible verse and a little bit of craftiness.
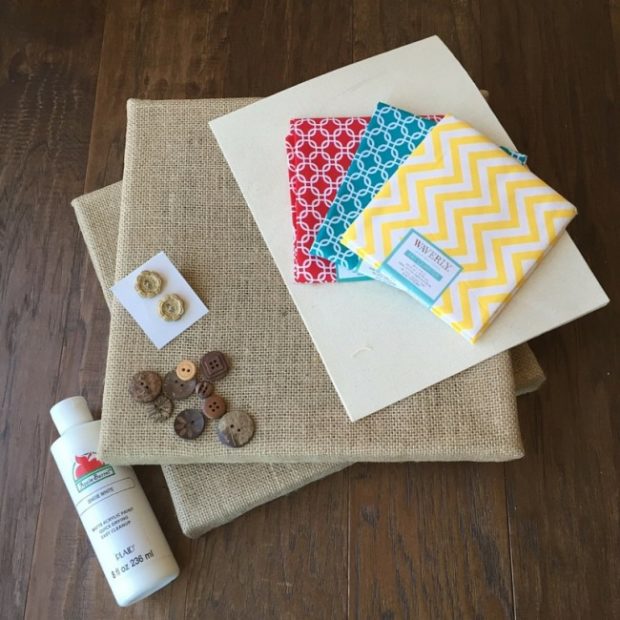
Here is what you’ll need to make your burlap wall art:
- Burlap-Stapled Deco Canvas
- White Acryllic Paint (or the color of your choice)
- Paint Brush
- Computer & Printer
- Laminated Canvas Sheet (the printable kind)
- Fabric Quarters or Scraps
- Fun Buttons
- Mod Podge
- Hot Glue Gun
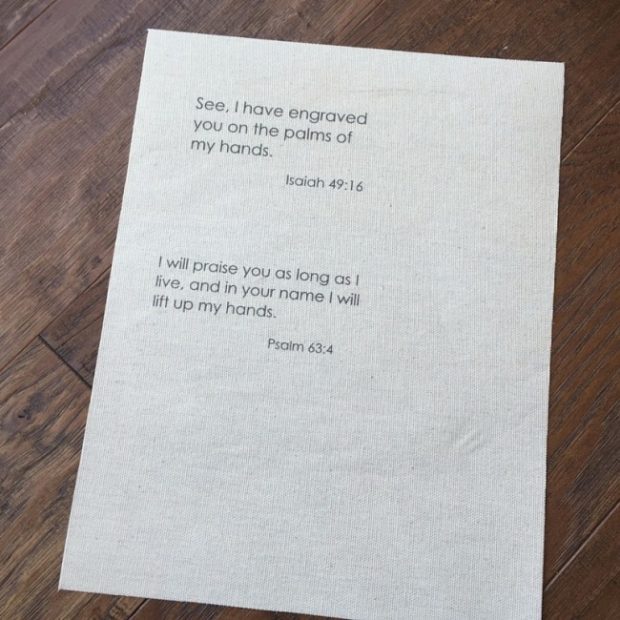
First, you need to pick a Bible verse and print it on the laminated canvas sheet. I planned for my verse cards to be about 3×5″.
The verses we chose to print:
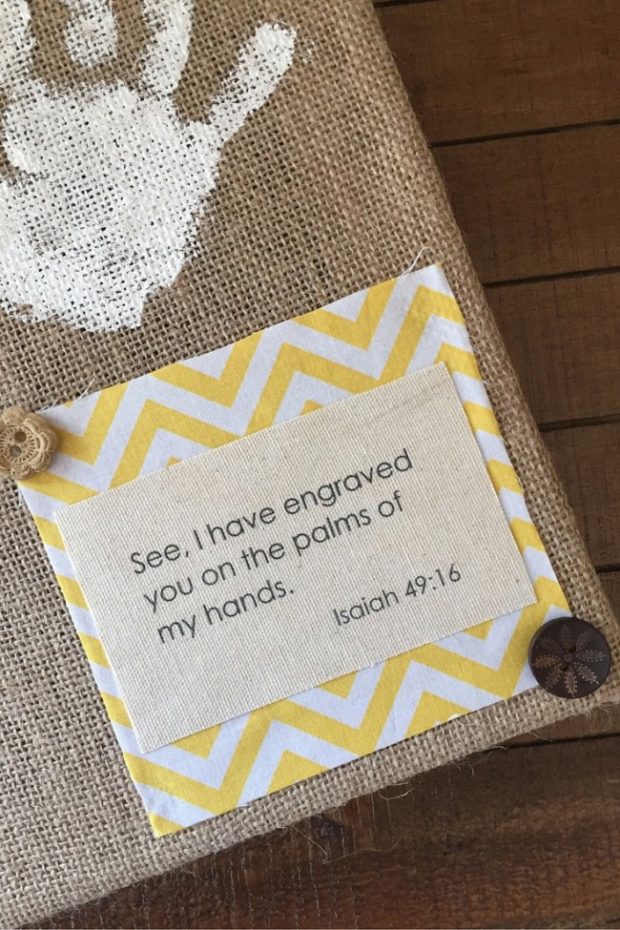
“See, I have engraved you on the palm of my hands.” Isaiah 49:16
“I will praise you as long as I live, and in your name I will lift up my hands.” Psalm 63:4
Once printed, cut out the verse or verses you selected.
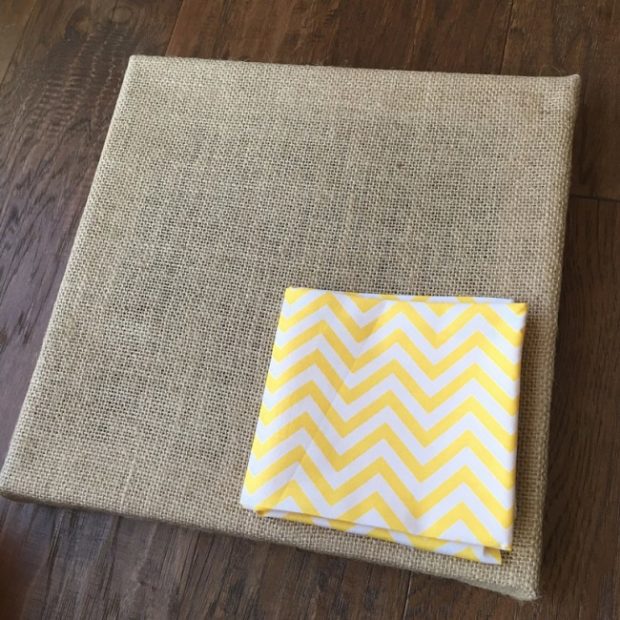
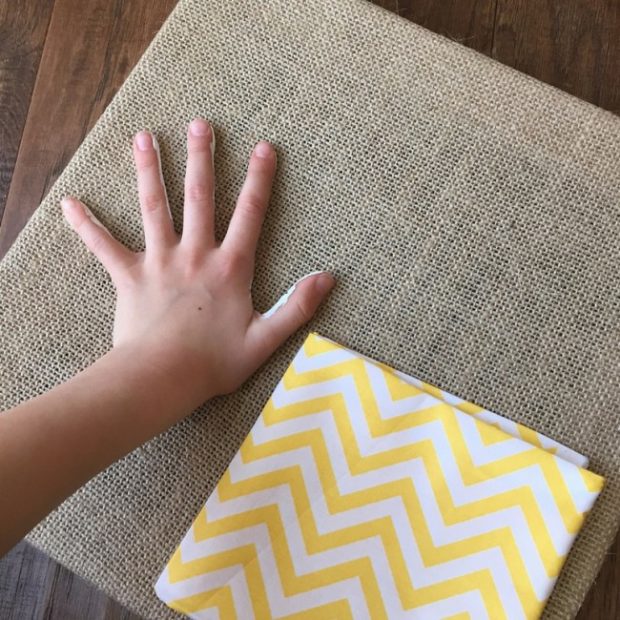
Decide the size/shape of your fabric on the burlap square. This will help you know where you have space to stamp the hand prints. I folded the fabric to get the general idea.
Incidentally, I bought the burlap deco canvases at Walmart for $5.00 each, but if you’re looking to make purchases online, this is the brand that I used, however the size is different. This one looks like a good alternative.

Paint your child’s hands and “stamp” them in place. IMPORTANT TO KNOW: I had to paint and stamp each hand 2-4 times.
. . . Did I mention that my kids just LOVE having me paint them?

I also found that lifting the frame and pressing from behind on their hand helped quite a bit.

Once you have finished the hand prints, allow to dry completely and lightly spray with an acrylic sealer.

Now, you’re ready to adhere your fabric and verse to the burlap frame. Cut your fabric to the size you desire. Then, start by applying Mod Podge to the back of the Bible verse canvas sheet and attach it to the fabric.
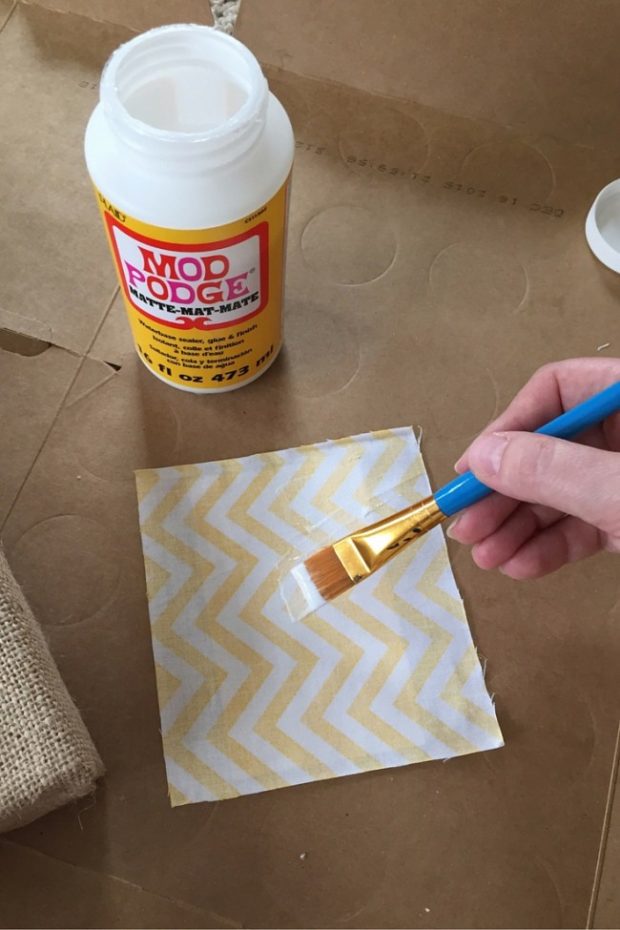
Then, put a coat of Mod Podge on the back of the fabric and attach to the burlap.
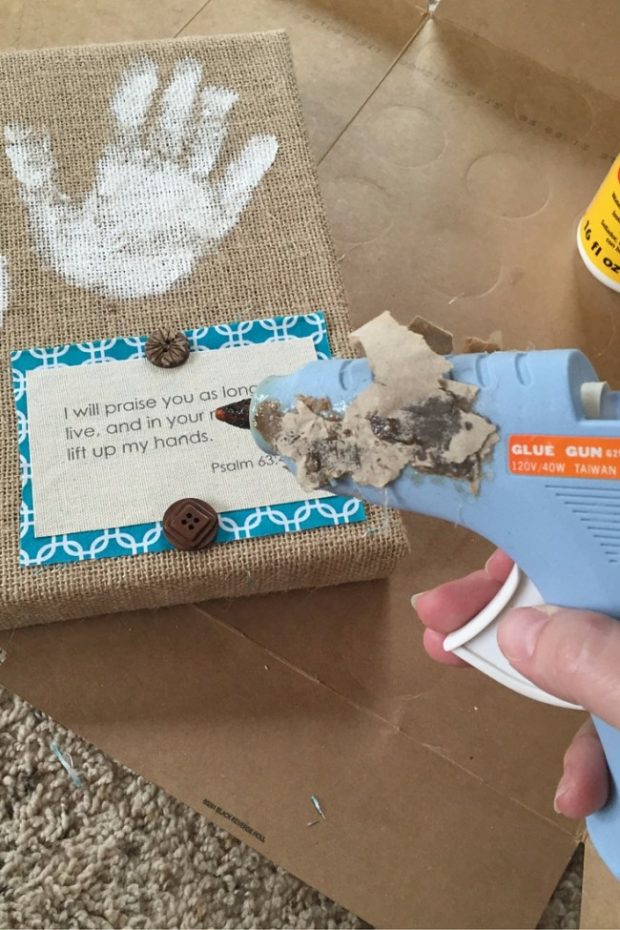
Please ignore my messy glue gun! The stand was lost years ago, so I rest it on its side on a piece cardboard. And if you’ve ever wondered what happens when glue and cardboard meet regularly, this is it!
Anyway . . . with hot glue, attach your buttons.

Now, all that is left is to decide where to hang your beautiful artwork.
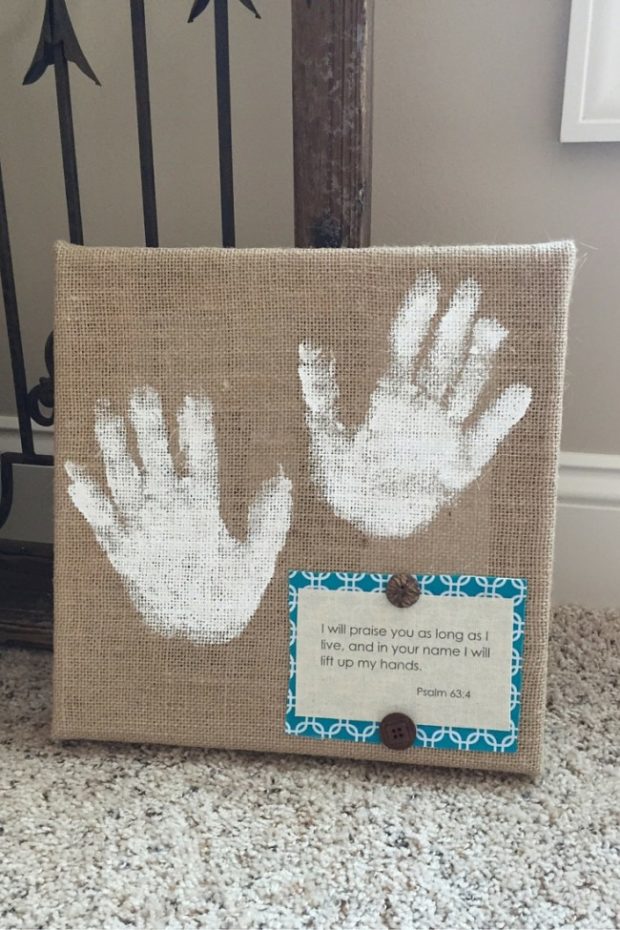
This is where I hung the burlap wall art . . . above the back stairs in my mud room:
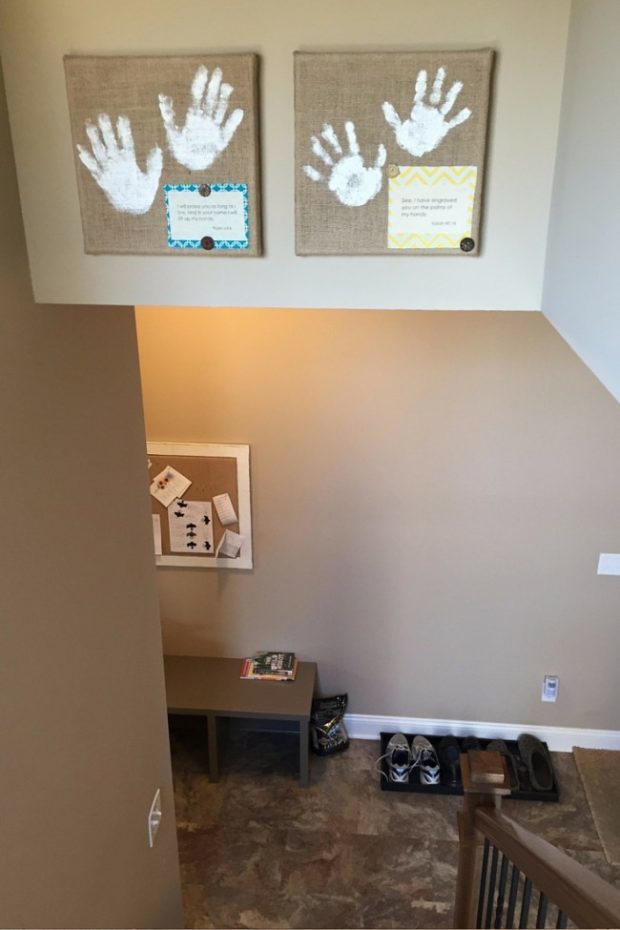

It is an everyday celebration and reminder of God’s love for us in that we are engraved on His hands and our response and desire to praise Him as long as we live. That’s encouragement for our heart and home!
Blessings!
~Kristen
Kristen of Celebrate Every Day With Me is a fun-loving mom to two kids who keep her busy and laughing. Add her great husband and the Lord to the mix and her life is one fantastic (and sometimes crazy) adventure. She is a former youth leader, professional wedding and event planner and has a degree in Christian Thought/Christian Ministry. She loves long lists, diet soda and playing jokes on her husband.
Kristen is the author of Teach Me To Serve: 99 Ways Preschoolers Can Learn To Serve & Bless Others. On her blog, you’ll find fun ideas for children’s activities, creating memorable moments and party planning.
Hello! I’m curious about your comment: “I had to paint and stamp each hand 2-4 times.” Does this mean you painted their hand 2-4 times and then stamped it? Or you painted the hand, stamped. Painted the hand, stamped. 2-4 times.
If it’s the latter how did you get their hand and specifically their fingers back into the same spots they were in?
Any thoughts would be great! I’m looking to make a handprint tree skirt that will be done every year at Christmas to see how their hands grow. So I’m not loving the idea of having to paint and stamp 2- 4 times each year with each kid. 🙂
Hi Brittany! Yes, I did paint each hand multiple times because one “hand stamp” was not enough coverage on material like burlap. If your material for the tree skirt is smooth, it will be much easier. But the burlap was tricky!
As to re-stamping on the same place, I helped guide my kids’ hands and they were slow and patient. You could also paint direct for extra coverage carefully once you have one print as a guide.
Hope that helps! Sounds like you have a fun project in the works!!