
Monthly contributor post from Kristen at Celebrate Every Day with Me:
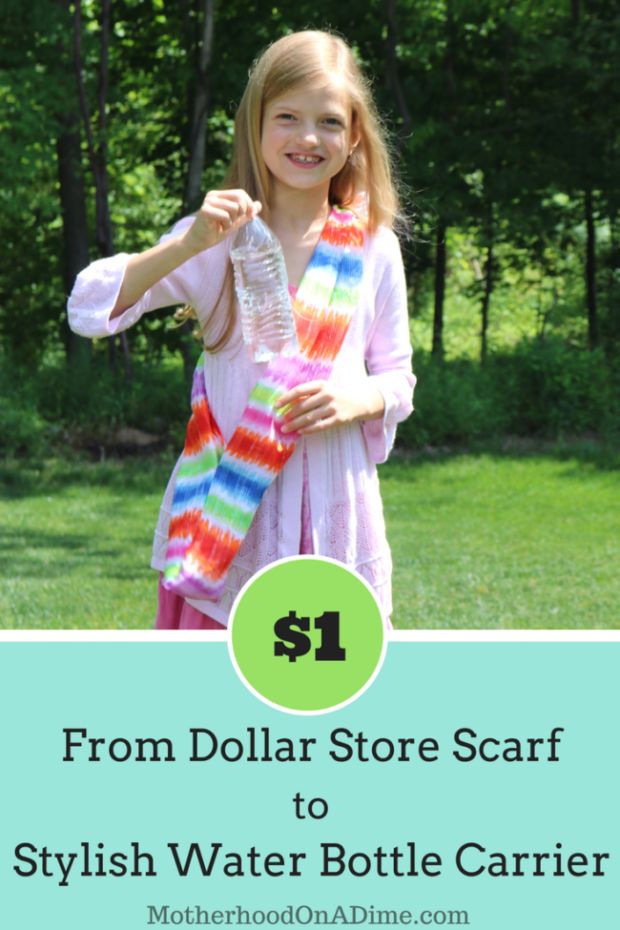
Hi friends! How is your summer going? Ours is flying by despite my attempt at a slow summer. This week, both of my kids are at VBS but last week my son attended an awesome outdoor adventure camp. On the list of items he was required to bring was a water bottle and strap. As the kids are moving about camp, it is nice to be hands-free while making sure they are staying hydrated.
For my son, I bought a strap to attach to his water bottle, nothing fancy. But I thought my daughter would like something more when she is going on walks or playing in the woods. That is when we came up with this cute water bottle carrier.
The carrier does require two straight lines of stitches but let me tell you . . . if we can sew this, you can too!
Here is what you’ll need:
- a dollar store scarf (use two scarves if you have an older/taller girl – see note below)
- sewing machine & thread
- straight pins
- a water bottle
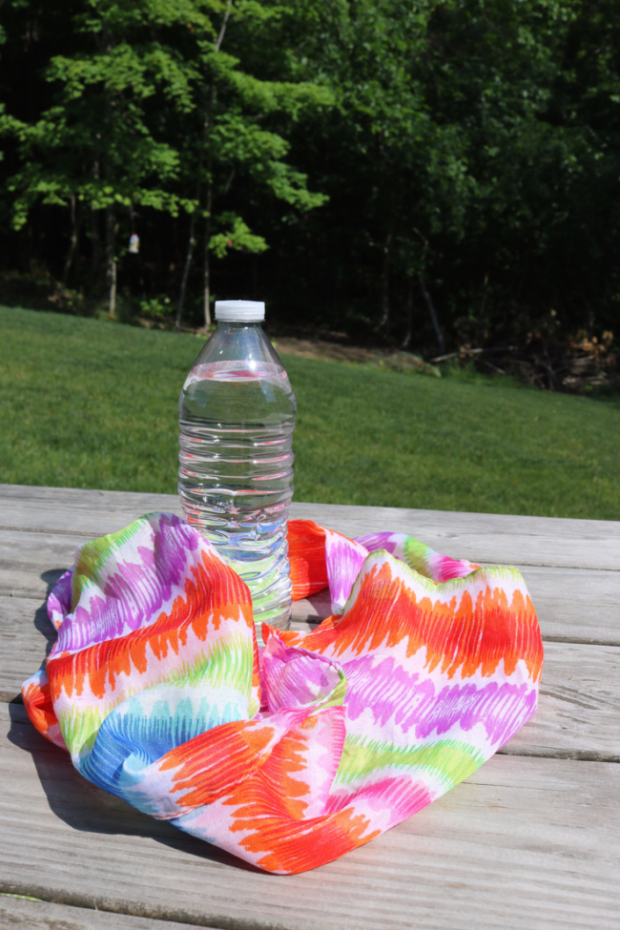
I ran to Dollar Tree (one of my favorite stores!) and picked up a couple scarves. This bright and fun scarf is the one my daughter chose for her water bottle carrier.
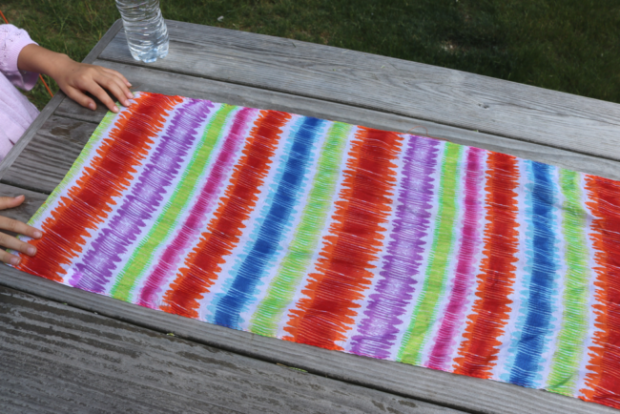
Start by laying out the scarf. The Dollar Tree scarves are identical on both sides. If you have a scarf that has two different sides, be sure to sew on what will be the inside of the scarf.
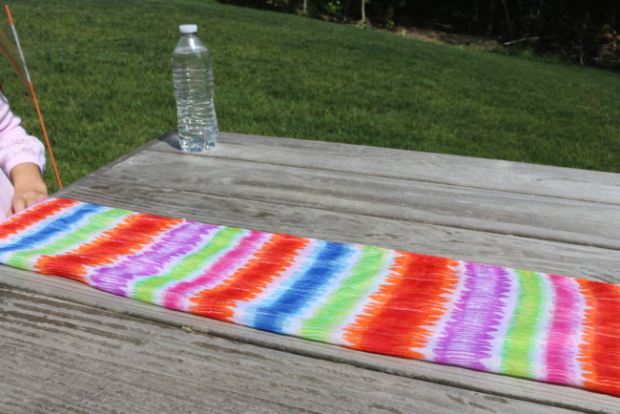
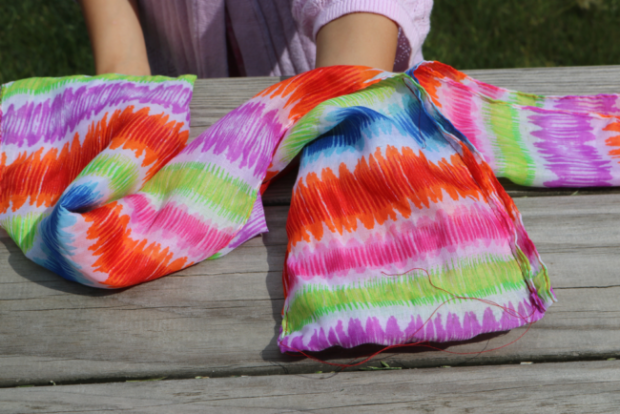
Fold the scarf lengthwise to reduce the width.
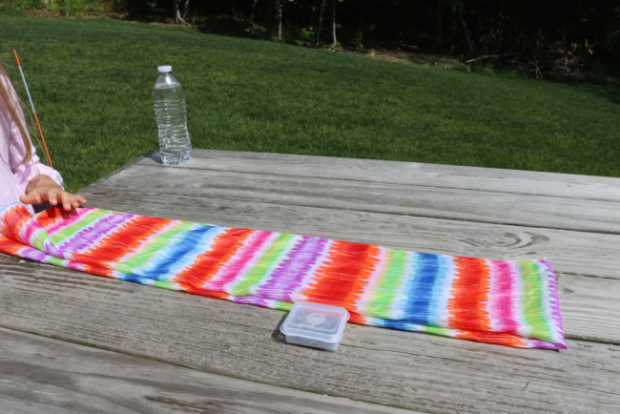
Next, fold it in half as shown above. The fold will become the bottom of your pouch.
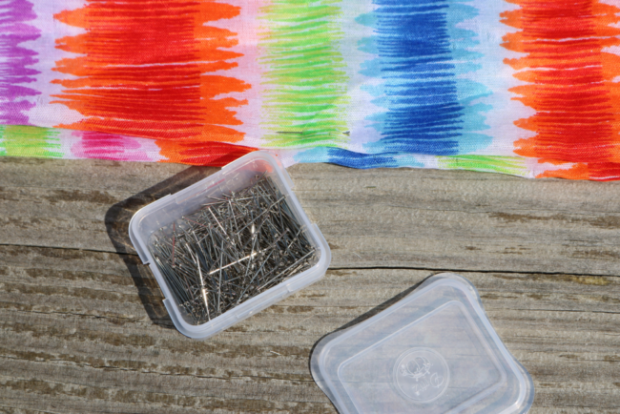
Put a couple straight pins on each side near the fold to help keep your scarf in place.

Grab your water bottle to use as a guide on how big the pouch should be. I added an extra pin to the fabric near the top of the water bottle so we could see how far to sew.
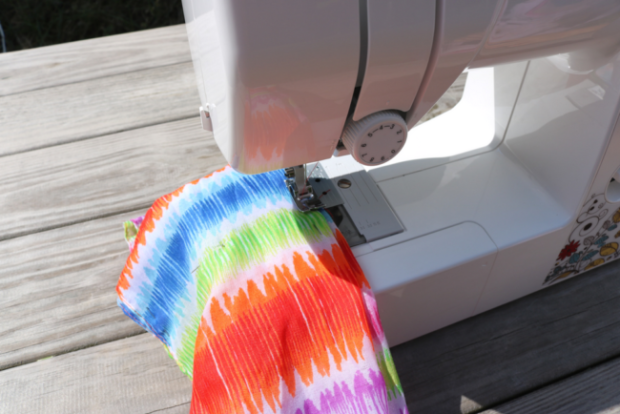
Sew a line on each side of the pouch. Don’t worry about being perfect . . . we were not!
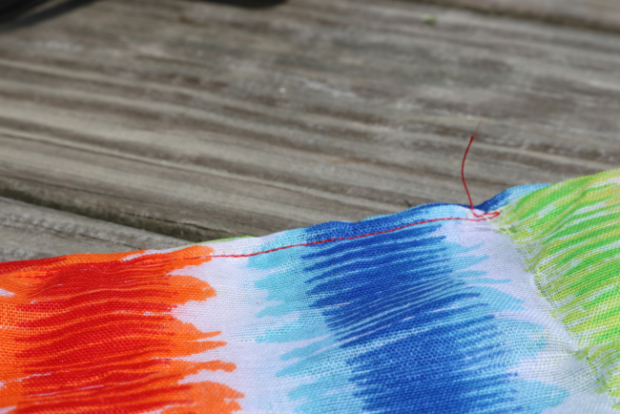
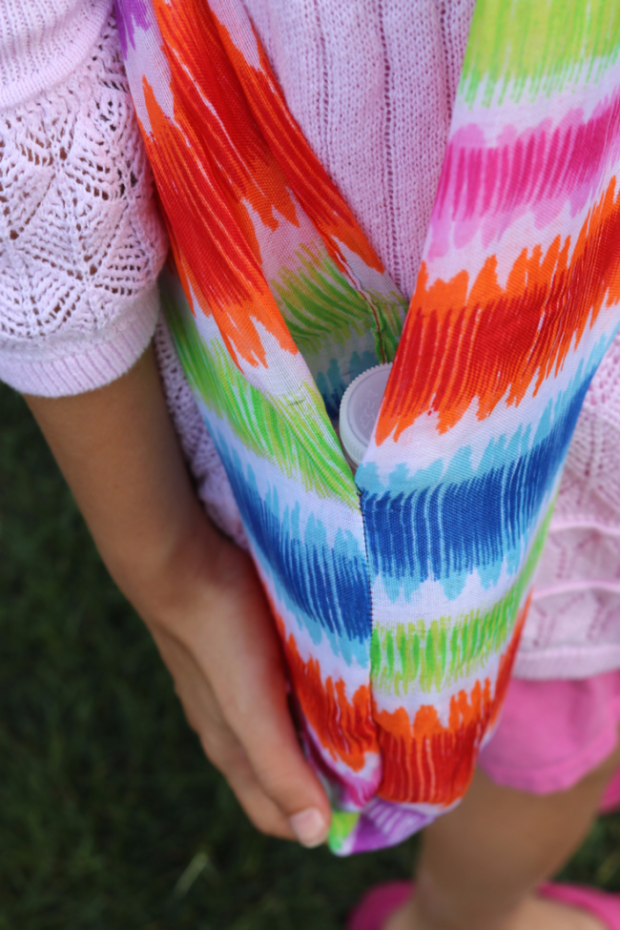
Reach inside your pouch, grab and pull the inside out, reversing the fabric so that your stitches are hidden inside.


Next, put the carrier around your child and decide how much fabric you need to knot off. My daughter, at age 7, needed the knot pretty close to the top of the fabric to be comfortable.

Once knotted, you are all set. Add your water bottle and head out!

How to accommodate a taller girl: use two scarves to create the water bottle carrier. You will need to fold each scarf lengthwise and then stack on top of each other. Measure with your water bottle and then sew three lines to create the pouch: each side and the bottom. Then, knot off the scarves at the appropriate height for your child.

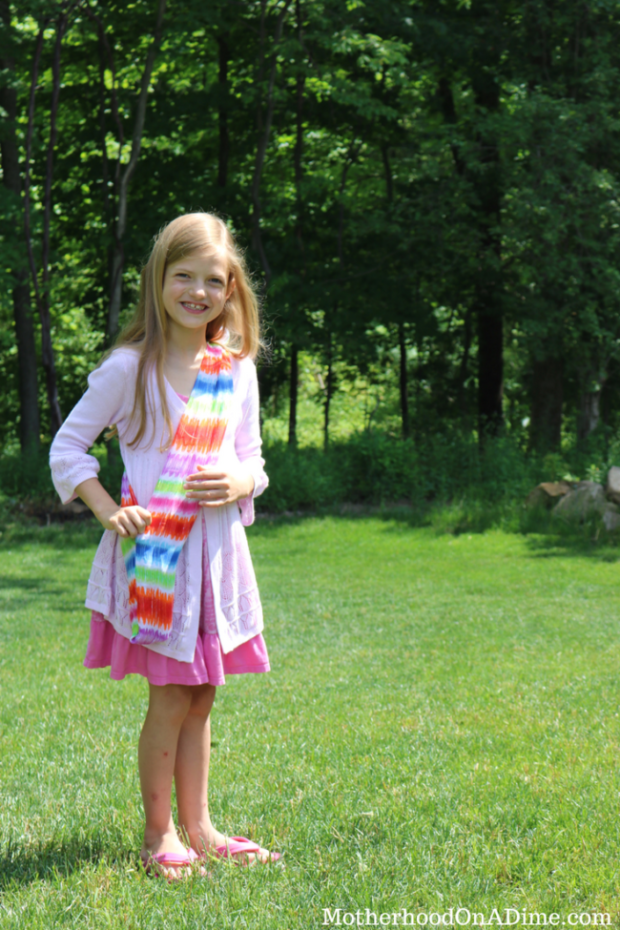
My daughter loved her new water bottle carrier and I loved doing the project together!
Do you and your kids sew? We are slowly working on getting better. If you’re not there yet, check out this No-Sew Fort Kit. Have a great summer!
Kristen of Celebrate Every Day With Me is a fun-loving mom to two kids who keep her busy and laughing. Add her great husband and the Lord to the mix and her life is one fantastic (and sometimes crazy) adventure. She is a former youth leader, professional wedding and event planner and has a degree in Christian Thought/Christian Ministry. She loves long lists, diet soda and playing jokes on her husband.
Kristen is the author of Teach Me To Serve: 99 Ways Preschoolers Can Learn To Serve & Bless Others. On her blog, you’ll find fun ideas for children’s activities, creating memorable moments and party planning.
Leave a Reply