
Monthly contributor post from Kristen at Celebrate Every Day with Me:

Spring is in the air! We’re just a few weeks away from the official start of spring. Can you blame me if I want to hop into the new season a little early? Today, my daughter and I have a fun spring craft to celebrate the coming of spring.
Here is What You’ll Need to Make Your Spring Chick Burlap Bags:
- Burlap Cinch Bags – 6.25in x 10in (I bought mine at Walmart, however, you could easily sew your own. This is another option.)
- Quart-Sized Mason Jars
- Painters Tape
- Press N Seal or Plastic Wrap
- Acrylic Paint (Yellow, Black and Orange)
- Paint Brushes
- Pencil
- Googly Eyes
- Tacky Glue
- Fresh Flowers (see the bottom of the post for other ways to use your bags)


Before beginning to paint, determine the section of the burlap bag that will be visible. Put the mason jar in the burlap and with painters tape, mark the “paintable area.” This way, when your child paints the chick within the marked space, it will be completely visible with the jar in place.

Next, fold a piece of Press N Seal or plastic wrap in half and fit into the bag. This will keep the paint from soaking through to the back of the burlap bag.

Draw the outline of the chick on the bag in pencil, making a fat oval with little wings.
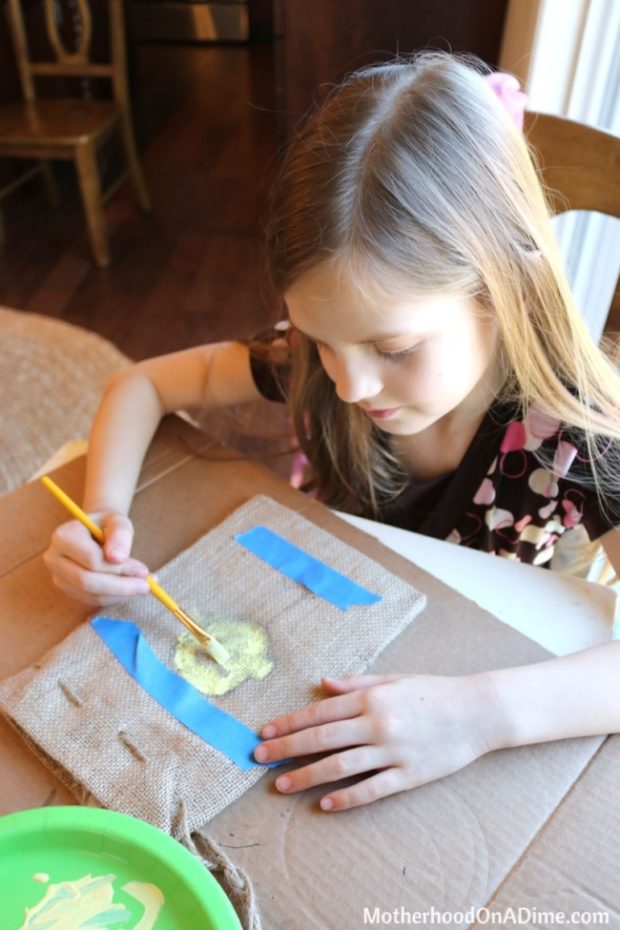
Then, it is time to paint. Be sure to cover the pencil makings with yellow paint.
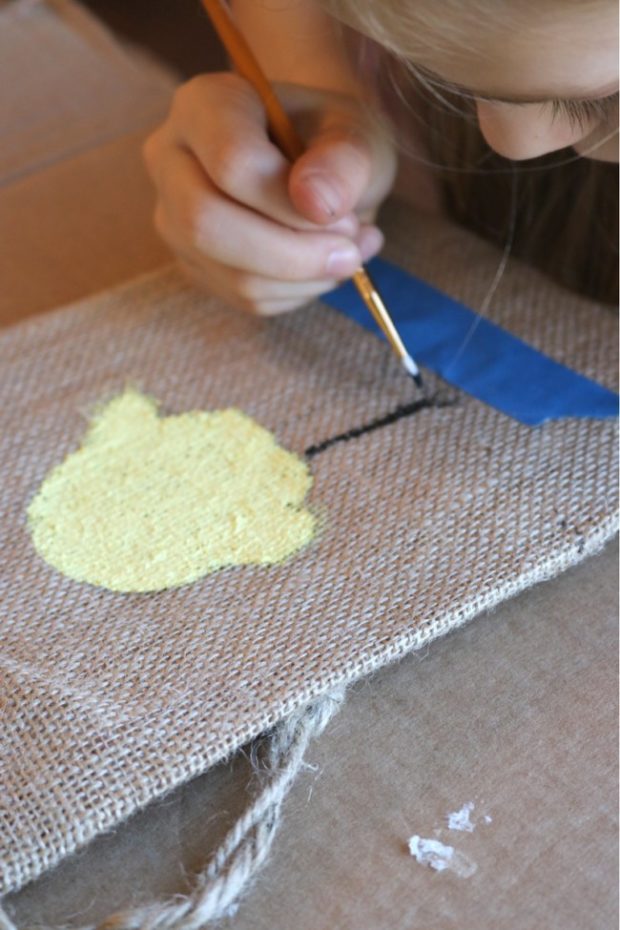
Once the body is complete, add two long bird legs . . .
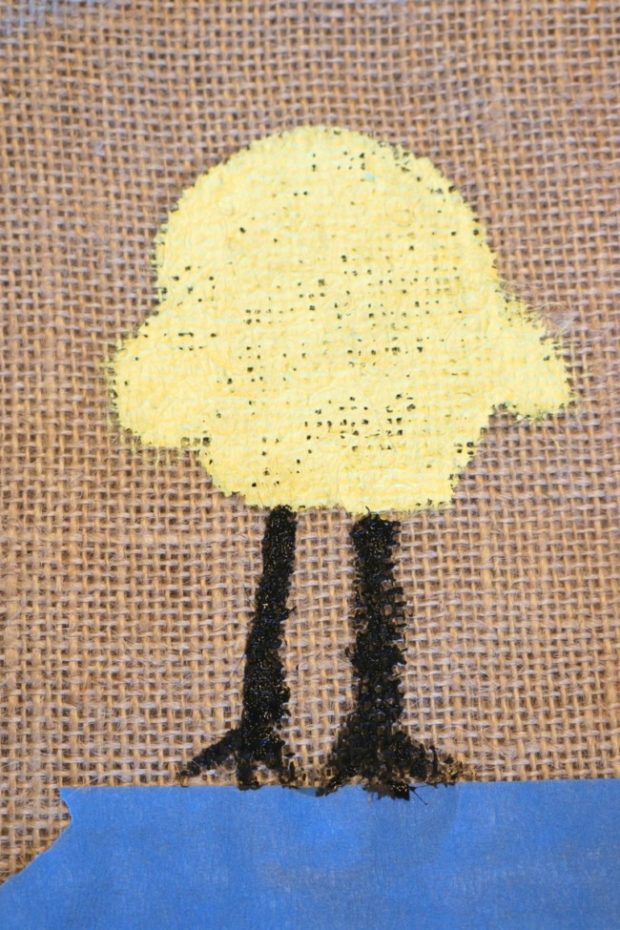
. . . and remove the tape.

Next, place two dots where you will glue the eyes of your sweet little chick. This will help your child determine where to paint the beak.
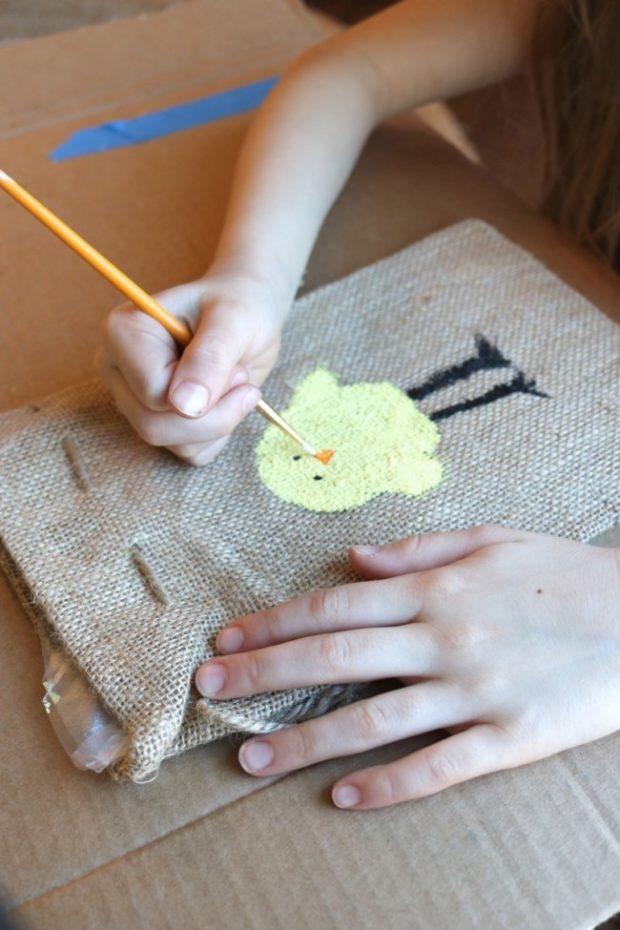
Paint the beak with the orange paint and allow the entire chick to dry.

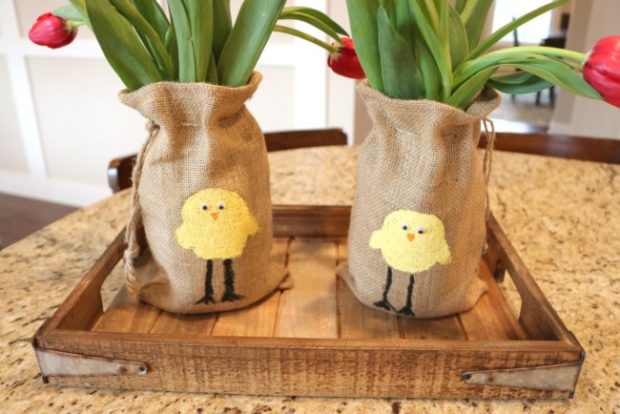
Add the googly eyes with tacky glue. Then, all that is left is to put flowers in your jar and slip on the bag.
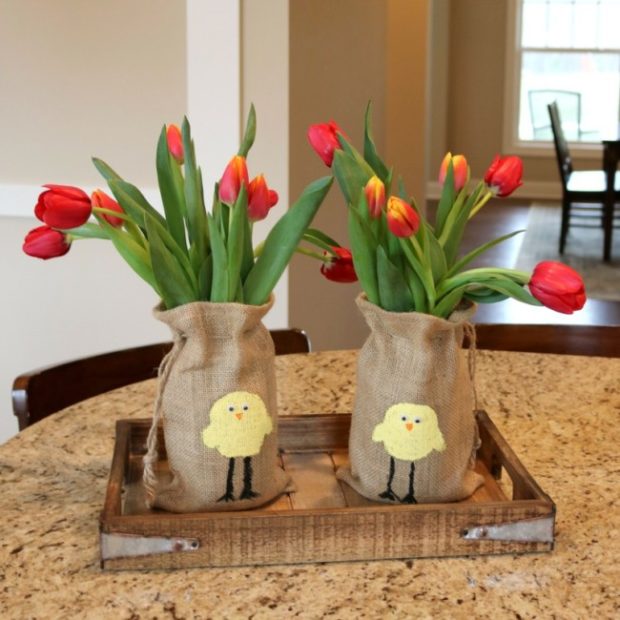
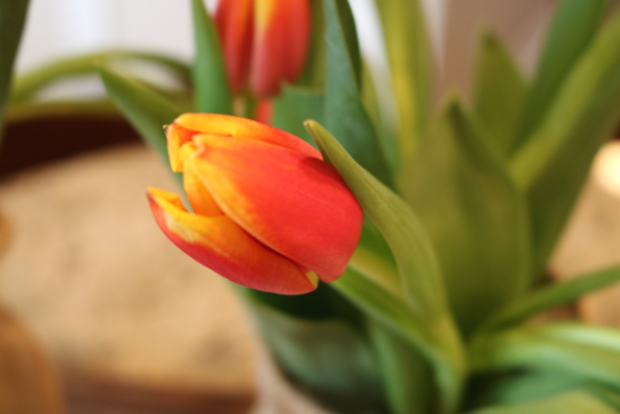
I couldn’t resist these tulips. So pretty!

Other ways to use your Spring Chick Burlap Bags:
- Fill with candy and give as a gift.
- Stuff the bags and place a grouping on the mantle or hang from a decorative coat hook or door knob.
- Plant grass in a jar and once the grass sprouts, slip the jar into the burlap bag.
- Flatten the bag and put it in a picture frame for seasonal wall art.

My daughter loved this craft. I hope your kids do as well!
How will you use your Spring Chick Burlap Bags?
Find more SPRING CRAFTS for KIDS here!
Kristen of Celebrate Every Day With Me is a fun-loving mom to two kids who keep her busy and laughing. Add her great husband and the Lord to the mix and her life is one fantastic (and sometimes crazy) adventure. She is a former youth leader, professional wedding and event planner and has a degree in Christian Thought/Christian Ministry. She loves long lists, diet soda and playing jokes on her husband.
Kristen is the author of Teach Me To Serve: 99 Ways Preschoolers Can Learn To Serve & Bless Others. On her blog, you’ll find fun ideas for children’s activities, creating memorable moments and party planning.
Leave a Reply