
Recently, the girls have been looking through our Chatbooks, and my middle daughter saw this Camping Cake I made for her 3rd birthday. She decided she wanted me to make it again for her 9th birthday, and I was great with that…because I already knew how to do it!! I did scale this version of the Camping Cake down and use just one cake mix instead of two.
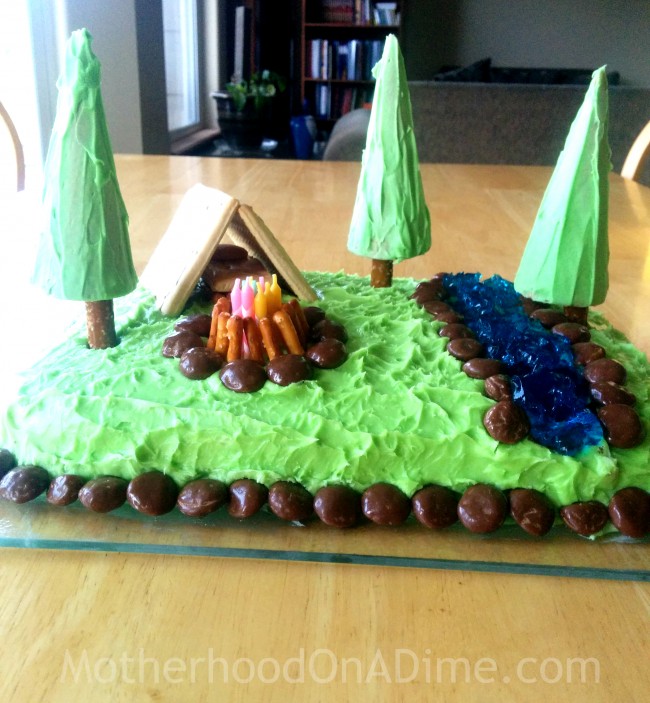
Here is our Camping Cake 2.0:

Easy Camping Cake
Supplies:
- Cake
- 2 Containers of frosting or 4 cups of frosting
- Green food coloring
- Green sprinkles
- Pop-Tarts
- Pretzel sticks
- Waffle cones
- Pretzel rods
- Blue gelatin (made according to package directions)
- Milk Duds
- Candles
1) Tint your frosting green and frost the cake. I usually do a crumb layer, put it in the freezer for a few hours, and finish with a second layer. I used the bottom side of a spoon to “lift” the frosting up to make some texture (and to hide my poor frosting skills). Decide how you want to arrange the campsite.
2) Use two breakfast pastries to make a tent. (I put a small slice of a Pop-Tart inside the tent on top of some pretzel sticks for a sleeping bag.) Frost and sprinkle three small waffle cones for trees. Allow the frosting to harden a little bit. Poke pretzel rods into the cake for tree trunks, and then balance the cones on the rods to complete the trees.
3) Using a spoon, scoop out the cake to form a stream. Fill with blue gelatin. Place Milk Duds bordering the stream like rocks. You could also choose to put gummy fish in the stream.
4) Form a campfire by placing several candles close together in a circle. Lean pretzel sticks in towards the candles (leave some space, so they don’t get singed when you light the candles!). Use more chocolate candies to form an outer circle around the pretzels.
There you have it…a simple and easy Camping Cake!
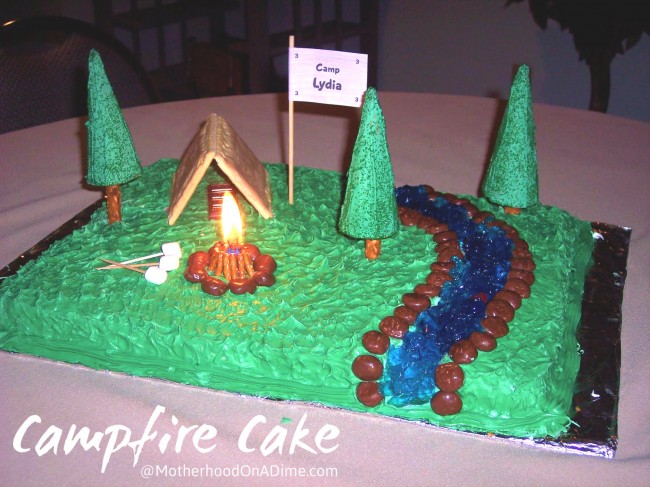
Here’s a photo from the last time we made the cake. I put mini-marshmallows on toothpicks and arranged them by the fire, but I forgot to do that this time!
Here are a few more “camping theme” ideas you can use, too!
Leave a Reply